Autodesk Inventor is a computer aided design program used for the creation and visualization of 3D Objects. It can be used to create product prototypes, ranging from simple molds to more complex objects. It has powerful editing tools making it an easy to use program.
How to make Widget 6
- Open Autodesk Inventor
- Click "part" under the new box
- In the top left, press start 2D sketch
- Click the XY plane, then click the rectangle in the top left
- Draw a square with the dimensions of one inch by one inch
- Using the extrude tool, extrude the square to become a 1 inch x 1 inch cube
- Now start another 2D sketch on the right side of the square. Click rectangle starting from the top left. The rectangle should start from the top left, go left .625 inches, and go down .750 inches.
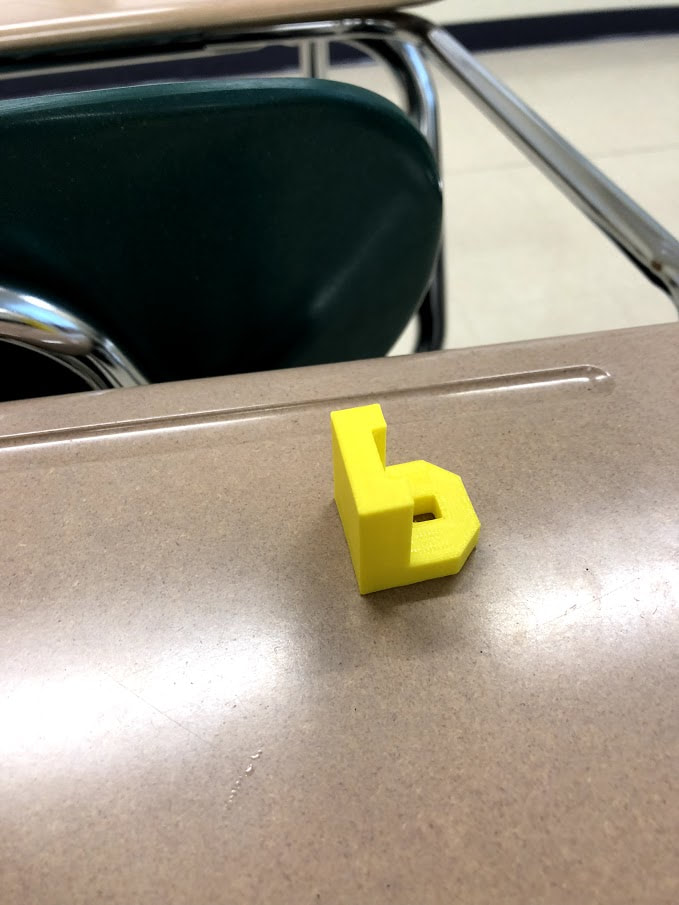
- Use the extrude and cut tool to cut this part of the cube out. The shape should now look like a backwards L.
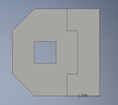
- Now view the shape from the top.
- Start a 2D sketch, and draw a triangle in the bottom right of the shape. For reference, this should be the bottom part of the L. To draw this triangle, press the line tool. Draw a line from the bottom right corner, up .25 inches, then diagonal to the bottom so it is .25 inches left of the corner, then complete the shape by drawing the line back to the corner.
- Use the extrude and cut tool again to cut this triangle shape out. Make sure to cut the full .25 thickness.
- Repeat steps 10 and 11 except in the bottom left of the shape.
- While still in top view, start another drawing.
- Click rectangle, start the rectangle .25 from the left of the top part of the L. Make the rectangle .5 inches wide. Then make the rectangle .125 inches wide by extending it up, making sure to keep the shape in the tall part of the L.
- Extrude the shape .75 inches down, making sure not to cut all the way through the shape.
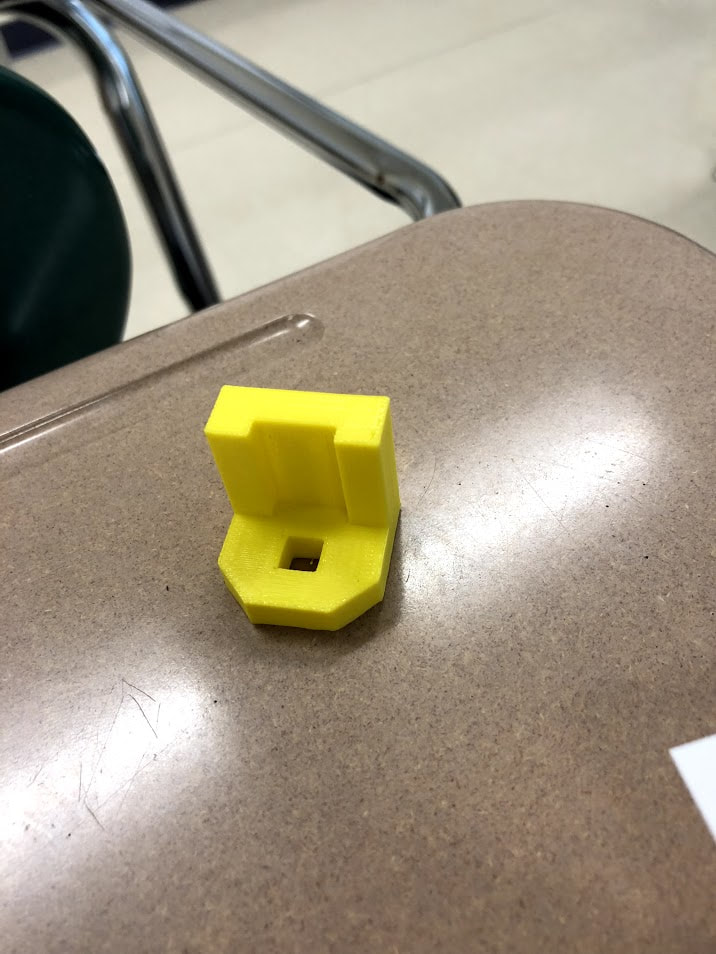
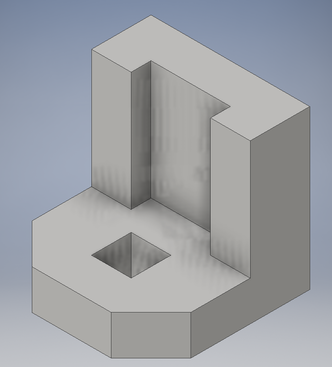
- Finally, start one more 2D sketch. .25 inches from the left of the shape, you should still be in top view, start a rectangle. The rectangle should be a square. The square should have sides of .25 inches, with the sides being .25 inches from every side besides the side with the cut into the l part of the L. You're now done, your view should look like this right now.
- Your shape is now complete, and ready to export for printing
- Press the giant I in the top left of inventor.
- Click Export, then CAD format. Save the file as a STL file.
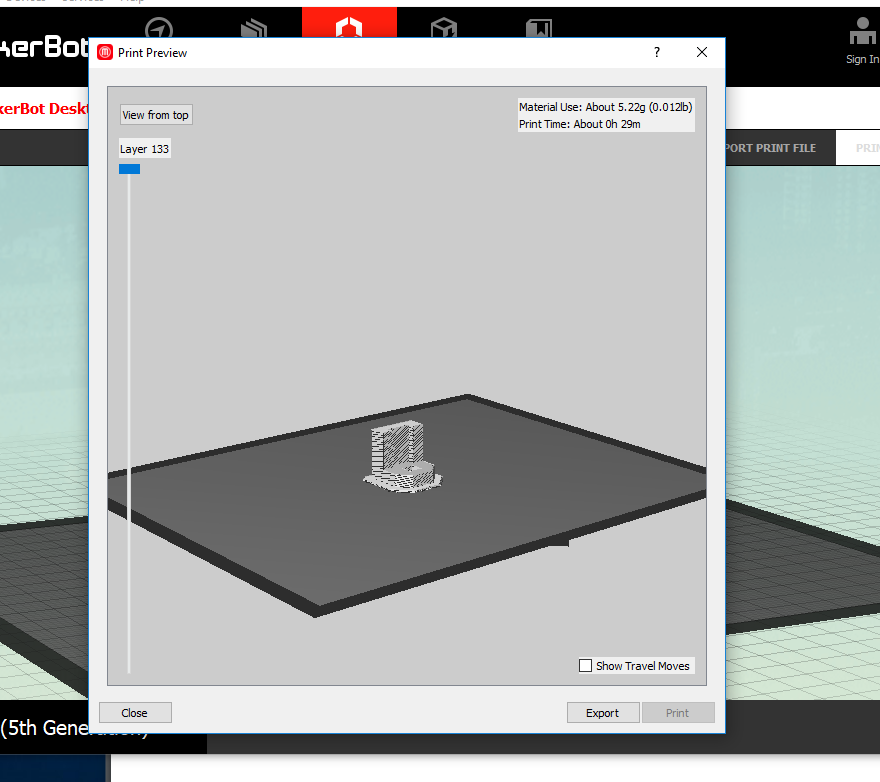
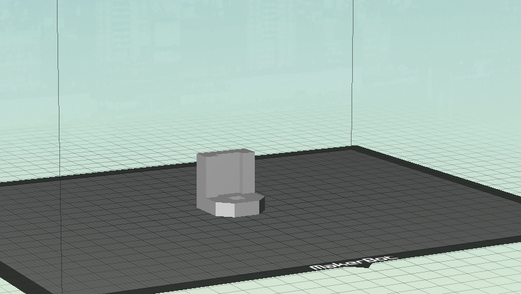
- Open Makerbot software, and click file>open and select the file you created with Inventor.
- Click cancel when it asks if you want to re-scale the file. Then click the icon on the left that looks like two arrows in a circle. Add 90 to the x, this should stand your L straight up.
- Now click the icon with two boxes in it. This is the re-scale function. Make each dimension 25.4mm, this is one inch.
- Click settings and change the extruder type to Smart Extruder+
|
|