MAze Project
For this project I was tasked with created a maze using the CNC Router. First, I made some simple sketches of the maze. Then, I used Autodesk inventor and Fusion 360 to make the maze come to life.
Recipie
After I made some simple sketches, I started a two dimensional drawing in Autodesk Inventor. I made sure to make the maze a square, with eight inch sides. After I finished the original square drawing, I began drawing the maze within the square. I made sure to leave enough space on the perimeter with a 3/8 inch border. The channels I made within the square were all 5/16 an inch thick. Once all the two dimensional drawing was complete, I extruded the original square drawing. After that, I extruded the channels into the square to create the actual channels. I made the channels 1/4 an inch deep. After this, the maze was complete in inventor. Now I moved the model to the Fusion 360 program. I created a tool path for the router to follow. The maze was now ready to be ran in the router. First, I taped the bottom of the maze with double sided tape to secure it to the router. Then, I zeroed the coordinates on the computer to make sure the maze cuts correctly. The maze was then ran in the router. After sometime, a full, eight inch by eight inch, cut out maze was given. After the maze was complete I laser cut my name into the maze. The maze was now complete.
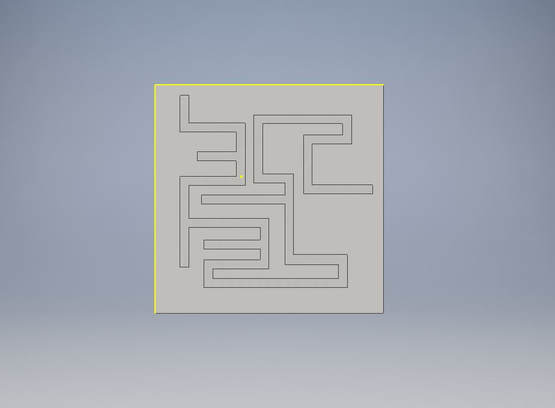
Maze in autodesk inventor |
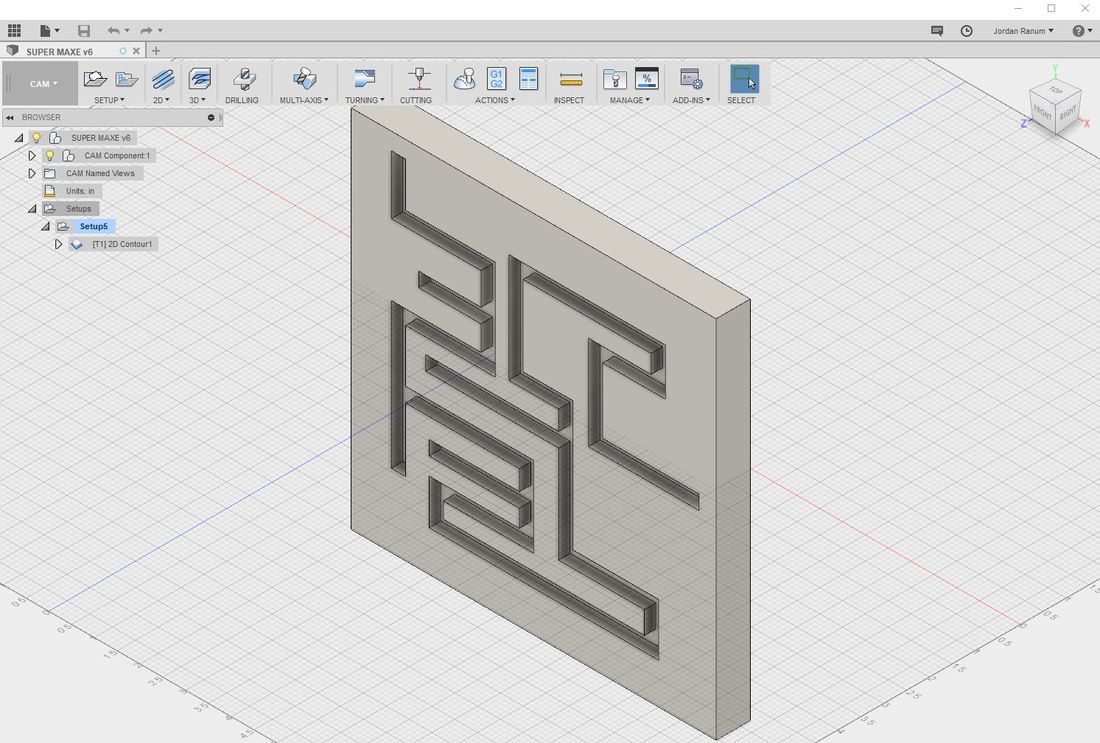
maze in fusion 360 |
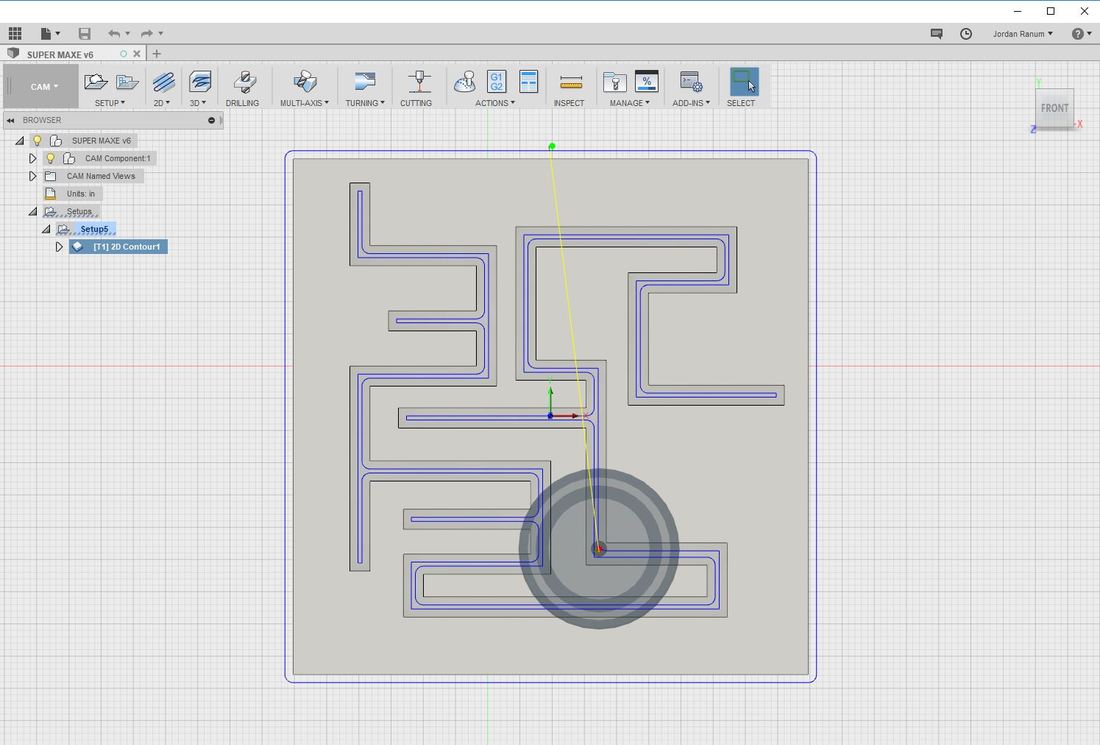
Toolpath

Zeroing the z coordinate |
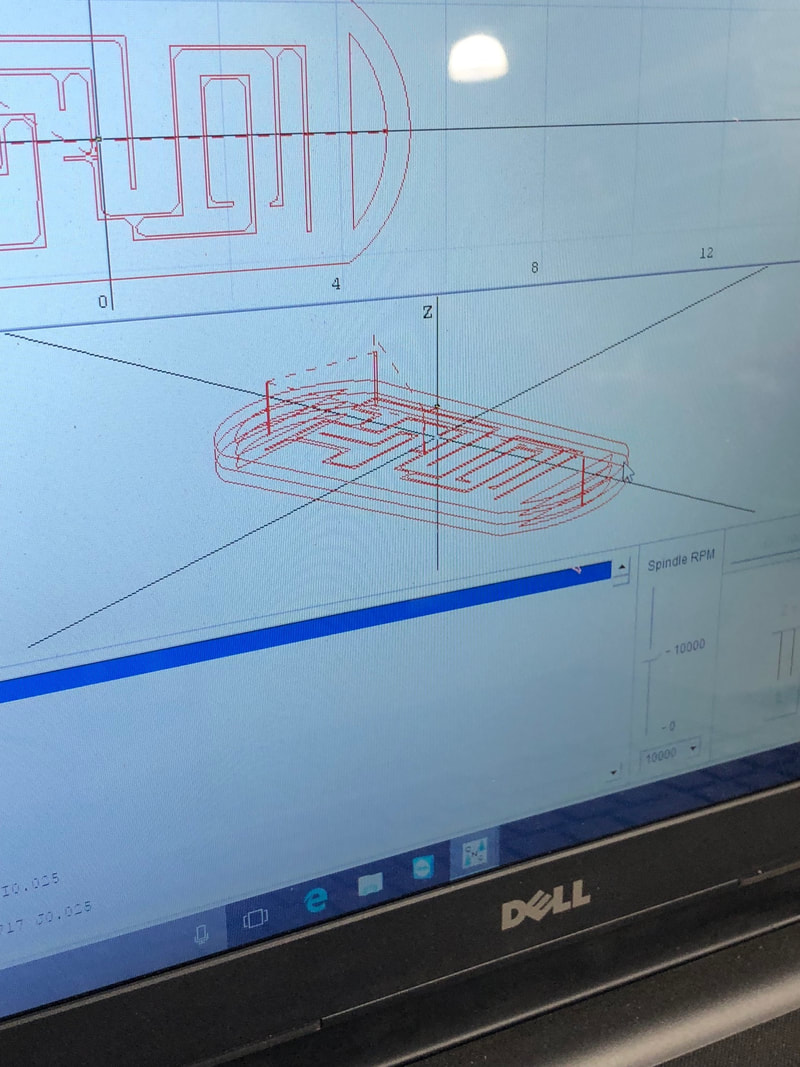
Preparing the maze on the computer for the router |
Conclusion
In conclusion, I learned many things from this individual CNC router project. First, I bettered my skills in Autodesk Inventor. I got better at drawing and extruding. Secondly, I learned how to use Fusion 360 software. I learned how to create the tool path and set the computer up correctly. Finally, I used how to use the CNC router correctly. This could help me in my future if I ever need to use a machine at work.
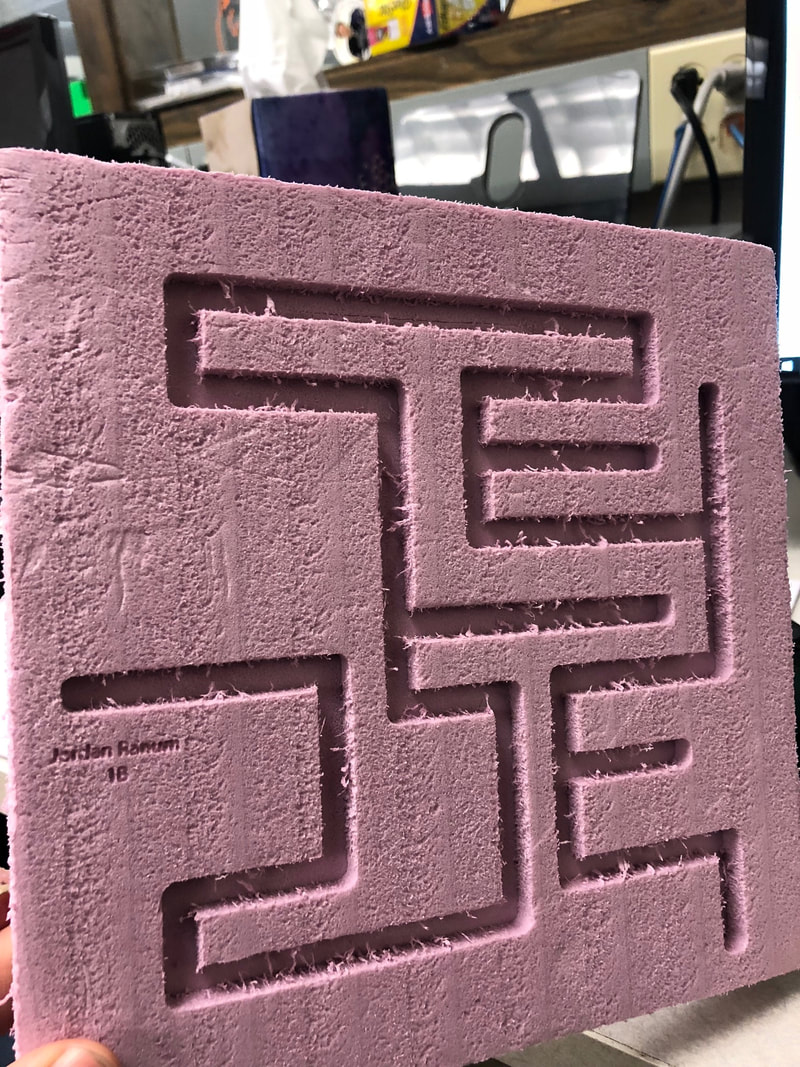
Final Maze pictures |
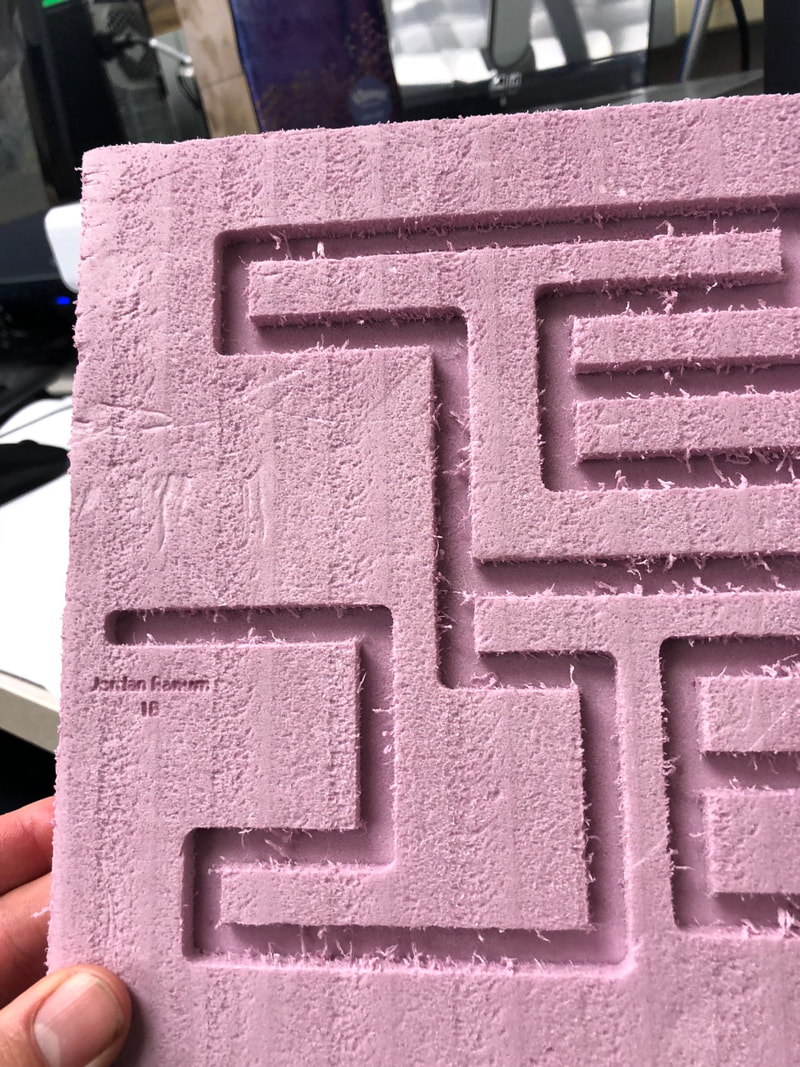
|
